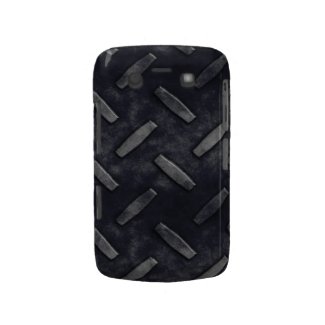
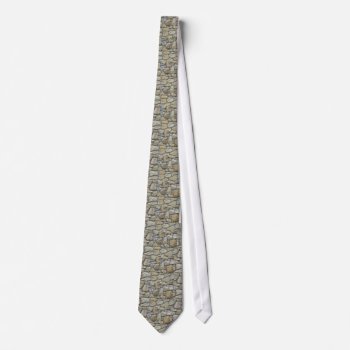
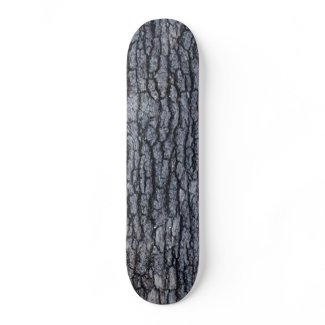
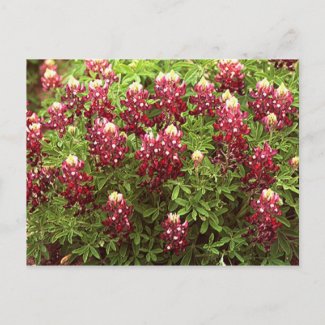
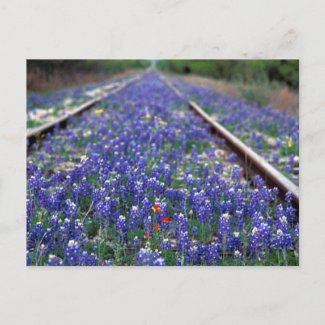
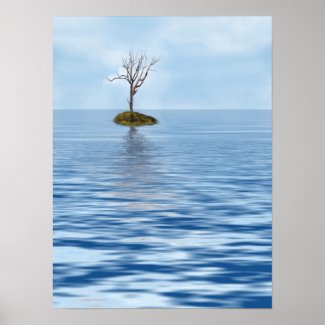
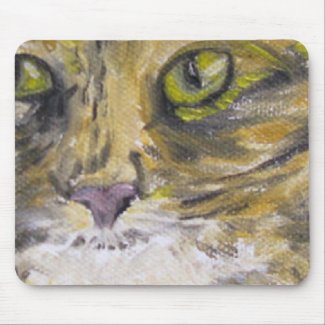
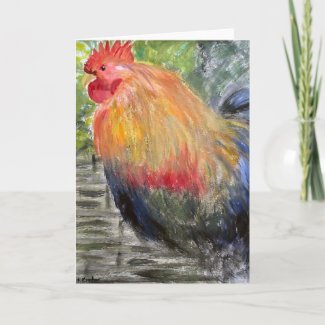
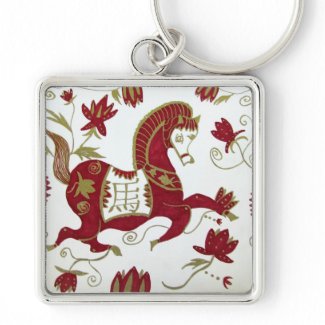
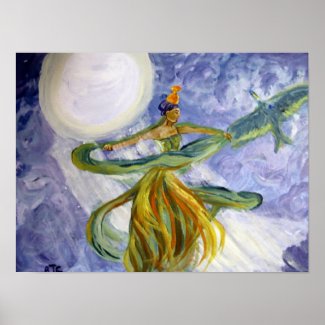
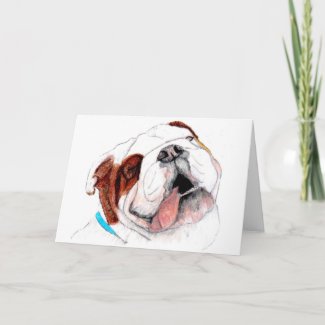
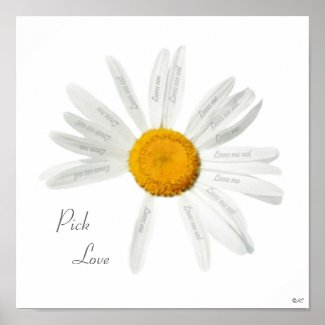
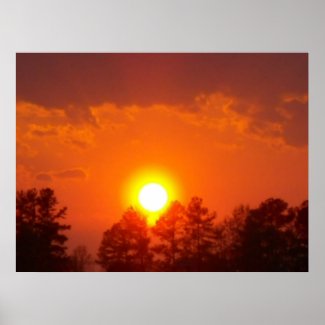
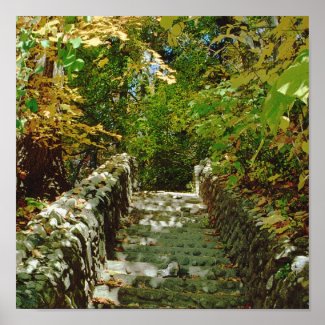
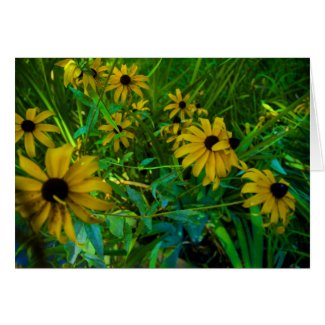
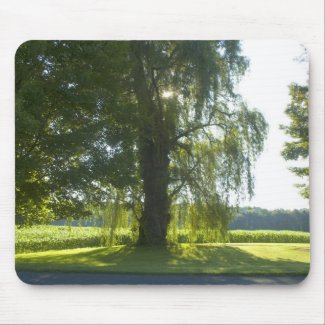
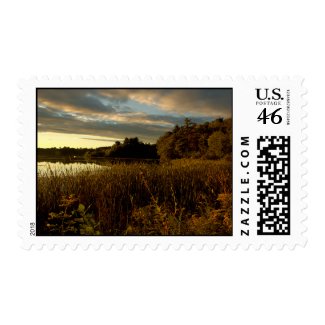
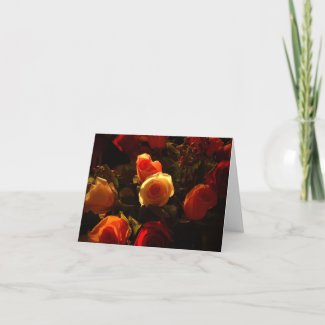
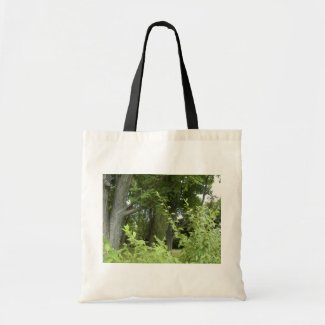
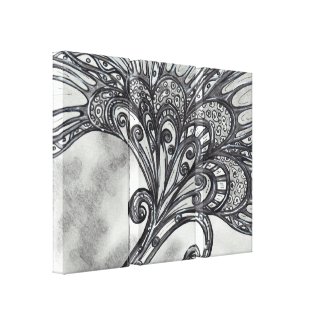
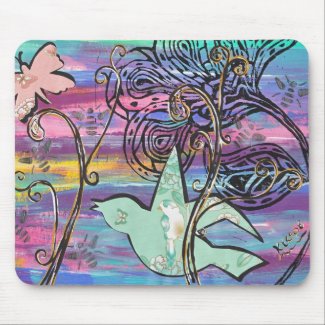
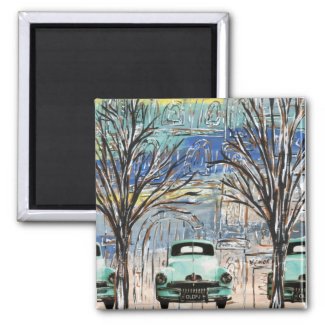
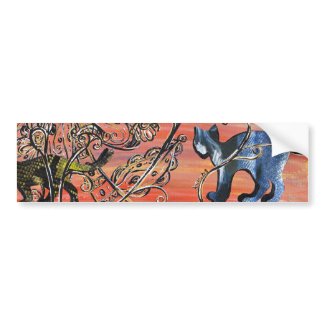
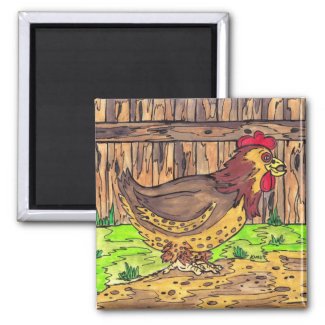
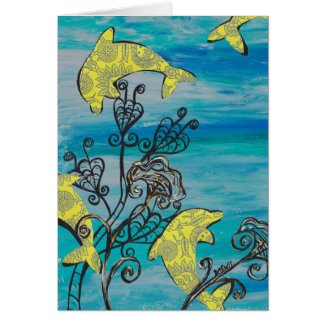
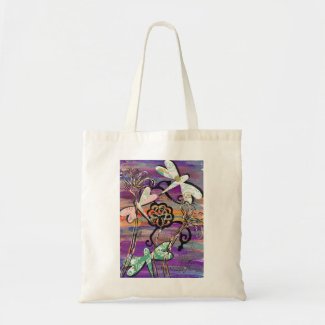
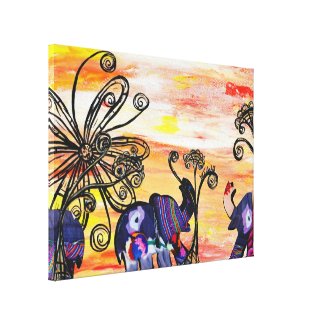
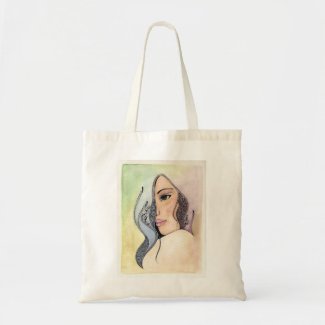
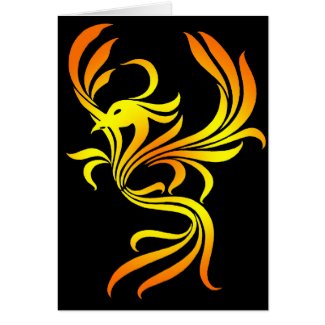
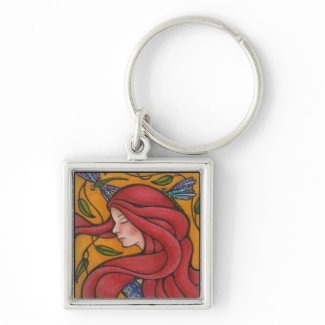
This week's featured artist is James Macabee. He has many different shops with many different types of products. I went through and picked my favorites, but please click on any of the products below and look through his shops yourself; there is something for everyone :). I hope you enjoy my selections.
The purpose of this blog is to share my art, techniques, and what I'm up to (art related).
Friday, November 11, 2011
Wednesday, November 2, 2011
Zazzle artist featured this week: Re Becca
This week we're featuring Re Becca and her wonderful art. There is so much variety in her shops and such fun stuff!!! You are sure to spend more time than you wanted looking through her fun items, and have a hard time selecting a few favorites! I did!
Enjoy these few items. Click on any of the pictures to go directly to Re Becca's shop.
Enjoy these few items. Click on any of the pictures to go directly to Re Becca's shop.
Sunday, October 30, 2011
Zazzle artist featured this week: Barbara Giordano
This last week Barbara Giordano was the featured artist in our Zazzle group. I looked through Barbara's shops and picked my favorite art to feature below. Make sure you visit Barbara's shops to find these wonderful designs in many different products; I'm sure you will find others you will enjoy just as much. :)
Thursday, October 20, 2011
Zazzle artist featured this week: Kristina Conatser
Kristina Conatser is the artist we're featuring this week. Her work is fabulous, and I really enjoyed looking at her store and products. Please take a look at some of my favorite items below and make sure you visit her store for a lot more!!
Wednesday, October 12, 2011
Zazzle artist featured this week: Susan Elkin
This week our Zazzle Facebook group is featuring artist Susan Elkin. I enjoyed going through Susan's shop and choosing a few items to display here. If you didn't know already, it seems I'm partial to nature scenes :). I hope you enjoy them as much as I do and go back to Susan's shop to look at other wonderful photographs and products.
Thursday, September 29, 2011
Zazzle artist featured this week: Karen White
I love Karen's art !!! She is the Zazzle artist featured this week and I hope you enjoy the items I picked to show off her art. Please make sure you take a look at the other items in her shop; I'm sure you'll enjoy it.
Tuesday, September 20, 2011
Zazzle artist featured this week: Nora Blansett
This week's featured artist is Nora Blansett. Her shop is full of wonderful designs, I have listed only a few, so please make sure you visit her shop for more. I have added the flash player at the bottom so you can see other products. Enjoy!!
Monday, September 12, 2011
Hand Carving...
That's what I've been up to recently. :)
I took some erasers and my carving tools on vacation and had a lot of fun showing my family how to carve. Here are some of the names I carved for them:
I ended up leaving my carving tools there for one of my sisters :)
When I got back I had my Cloth Paper Scissors magazine waiting for me. In it was an article about carving your own blocks using the reduction printing method. I had heard about this method, but had not tried it before; it was time to try it. :)
The basics of reduction printing are the following: you carve a bit and then print what you have in one color... make as many prints as you wish. Then, carve some more (what you carve out will show the color you just printed). Then print again over your first printings. Carve some more and print... and so on. What you end up with is a set of unique prints that you won't be able to replicate, and a printing block that cannot be used again. The last part is what has kept me away for so long... I like to use the hand-carved blocks over and over in different ways. So... here are some really simple experiments :)
So... I really enjoyed the experiments; by the time I got to the magnolia, I had gotten the hang of it. You really need to think differently... in layers, and also going from light to dark colors.
So, then I was ready for a "regular" carving :), so I made this bird, and started playing with a few of the prints already. Soon I will start posting them in my Etsy and Zazzle shops. I hope you enjoy them.
I took some erasers and my carving tools on vacation and had a lot of fun showing my family how to carve. Here are some of the names I carved for them:
I ended up leaving my carving tools there for one of my sisters :)
When I got back I had my Cloth Paper Scissors magazine waiting for me. In it was an article about carving your own blocks using the reduction printing method. I had heard about this method, but had not tried it before; it was time to try it. :)
The basics of reduction printing are the following: you carve a bit and then print what you have in one color... make as many prints as you wish. Then, carve some more (what you carve out will show the color you just printed). Then print again over your first printings. Carve some more and print... and so on. What you end up with is a set of unique prints that you won't be able to replicate, and a printing block that cannot be used again. The last part is what has kept me away for so long... I like to use the hand-carved blocks over and over in different ways. So... here are some really simple experiments :)
 |
| Flower - 4 layers |
 |
| Heart - 4 Layers |
 |
| Leaves - 5 Layers |
 |
| Steps/Layers for the Magnolia Print |
 |
| Magnolia print - 6 layers (with the white) |
So... I really enjoyed the experiments; by the time I got to the magnolia, I had gotten the hang of it. You really need to think differently... in layers, and also going from light to dark colors.
So, then I was ready for a "regular" carving :), so I made this bird, and started playing with a few of the prints already. Soon I will start posting them in my Etsy and Zazzle shops. I hope you enjoy them.
Subscribe to:
Comments (Atom)

